Zapier
Connect and create HelpSpace zaps with Zapier
Zapier makes it easy to connect HelpSpace with over 3000 Apps, so you can build intelligent workflows and automations using the tools you work with.
Connect Zapier
Setting up the integration is fairly easy and described below with a few simple steps:
Login to your HelpSpace Account and go to Settings → Integrations.
Click on “Setup Integration” on the Zapier integration card.
A modal will pop up to generate the Access Token needed to authenticate with Zapier.
Copy your Client ID and Secret Key. The Secret Key will not be shown again, so make sure you save it in your password manager or any other save place.
Click on the button "Connect to Zapier". A new window will appear where you need to enter your Client ID and Secret Key.
Done. Now you can create your first Zap.
Create Your First Zap
Add a trigger or action to set up your first Zapier automation
As an example, we are going to create a Zap that sends you a Slack message whenever a new Ticket is created in your HelpSpace Workspace.
First you need to log in to your Zapier Account and create a new Zap.
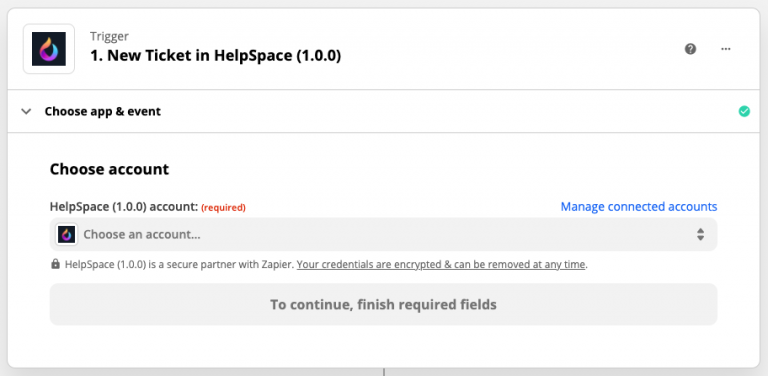
Then you need to select a Trigger. Search for HelpSpace and click on continue.

Select a trigger that will start your automation.

Select your previously added HelpSpace Account. (Go to Connect to Zapier if you don't see any accounts in there.)
Select the section you want to watch for new tickets. They represent the same sections as you can see in your HelpSpace inbox.

Now you can test your new trigger.

If everything is working you can create the action that should run when the trigger get's triggered. We select Slack for now in order to send us a new message.

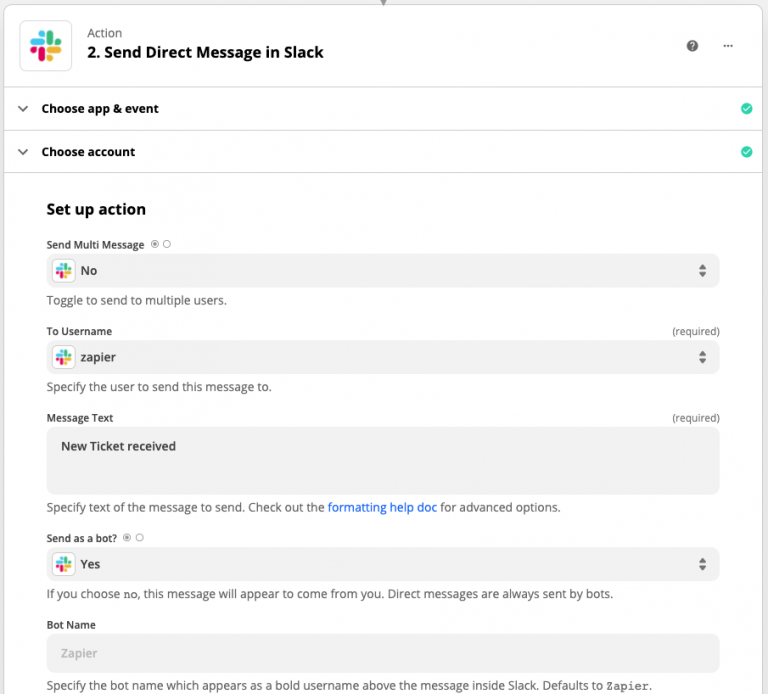
Select a slack event. Choose "Send Direct Message" for now since we want to receive a new notification once a new ticket arrives.

Select your connected Slack account.

Now you can configure all the nitty gritty details of how the slack message should look like. You can leave most of this as it is, just enter a "Message Text" and select your name in the "To Username" dropdown field.
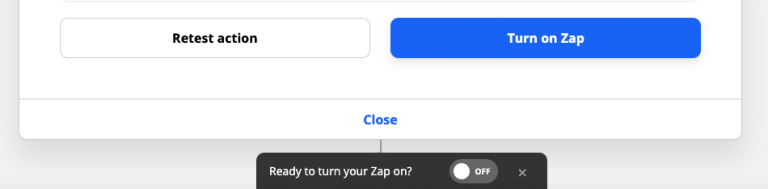
That's about it! You can now test your Action.

Last but not least you need to Turn on your new Zap.