Single Sign-On (SSO)
Configure the Integration in HelpSpace
Log in to your HelpSpace workspace as an Admin.
Click Settings → Integrations in the left-hand menu.
Select Single Sign-On.
Fields / Functions | Description |
|---|---|
Disabled/Enabled | Enable or disable the SSO login for your workspace. |
Allow password login | Choose whether users can still log in with their email address and password. If set to No, all users must log in via SSO. The Superadmin can still log in with email and password as a fallback. |
Identity Provider | Select the authentication protocol used by your identity provider. HelpSpace supports:
|
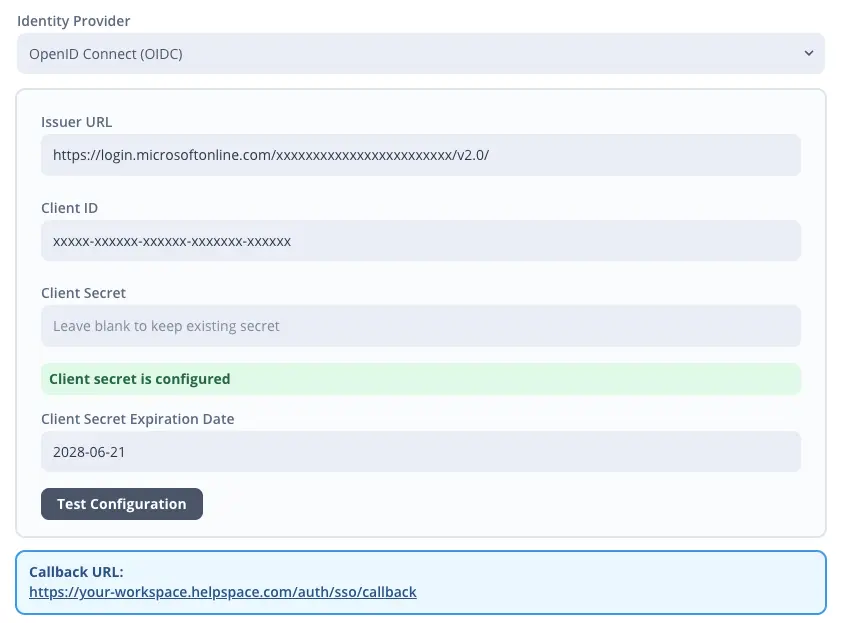
OpenID Connect (OIDC) | |
Issuer URL | Enter the issuer URL provided by your identity provider. This URL is used to identify and validate the authentication provider. |
Client ID | Enter the client ID generated by your identity provider for the HelpSpace application. |
Client Secret | Enter the client secret generated by your identity provider. This is used to securely authenticate HelpSpace with the identity provider. |
Client Secret Expiration Date | Enter the expiration date of the client secret, if available. This helps you track when the secret needs to be renewed. |
Test Configuration | Test your SSO configuration to verify that the credentials and connection settings are correctly set up. |
SAML 2.0 | |
IdP Metadata URL or XML | Enter the metadata URL or paste the XML metadata provided by your identity provider. This information is required to configure the SAML connection. |
Entity ID (optional) | Enter a custom entity ID if required by your identity provider. Leave this field empty if no specific entity ID is needed. |
Email attribute override (optional) | Define a custom email attribute if your identity provider does not use the default email attribute. Leave this field empty to use the default setting. |
Test Configuration | Test your SSO configuration to verify that the credentials and connection settings are correctly set up. |
Important: Only existing agents with a matching email can sign in via SSO.
Connect via OpenID Connect (OIDC)
Enter your Issuer URL, Client ID, Client Secret, and optionally the secret expiration date.
Add the HelpSpace Callback/Redirect URL to your OIDC Provider.
Click on “Test Configuration” to verify that everything is set up correctly
Click on “Save”
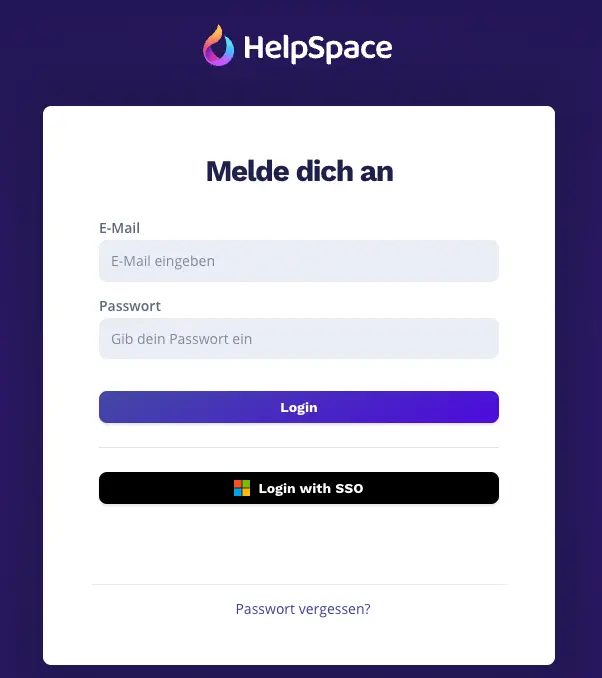
Once you have set up SSO, you will see a new “Login with SSO” button on the HelpSpace login page.